
by Eva Maria Catic, 1st year student, MPhil Textile Conservation
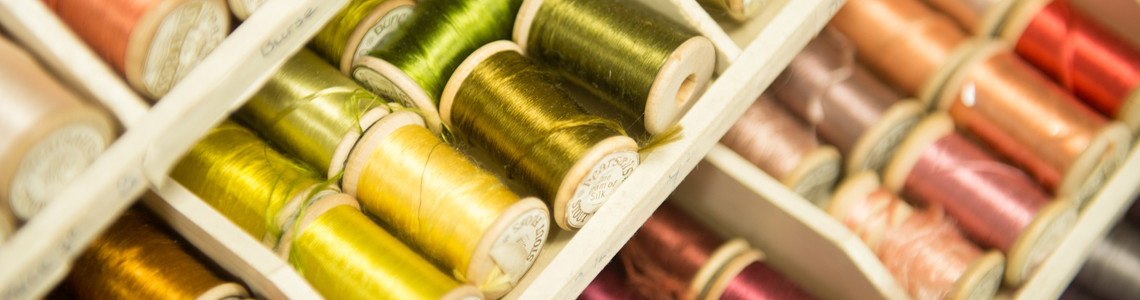
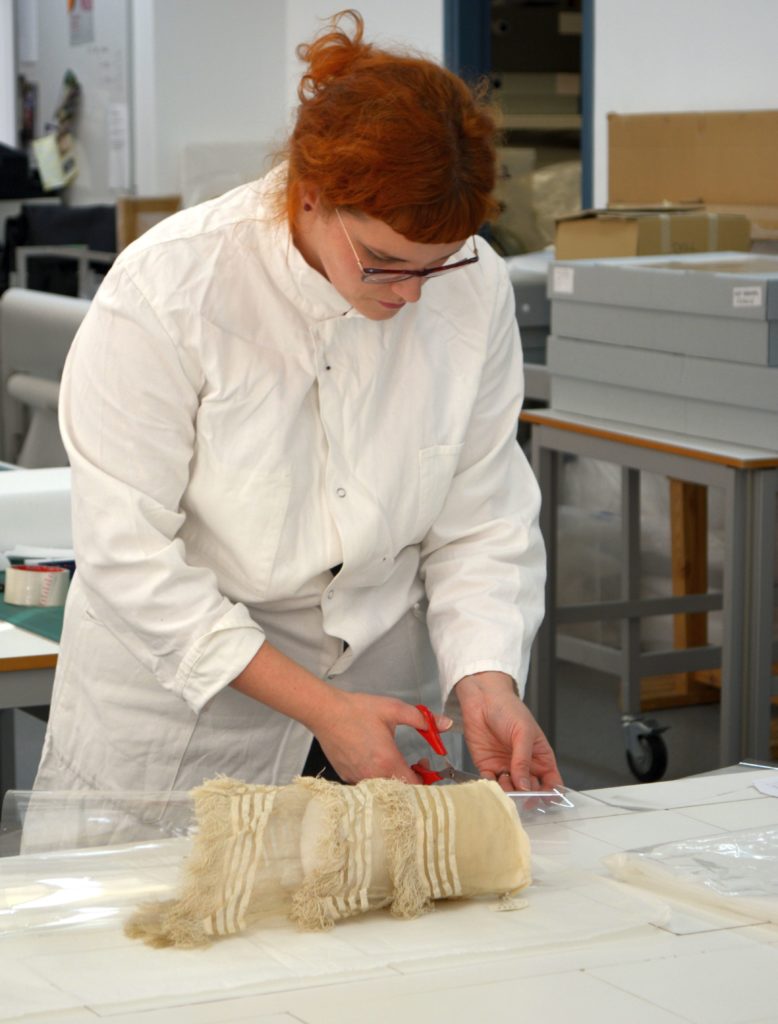
One of the great reasons to be a student at the Centre for Textile Conservation is the opportunity to explore different treatment methods. As soon as I mentioned to Sarah my intention to build a humidification chamber for our humidification practical, she instantly agreed to my pursuit of the plan, although she was sceptical about my assertion it would only take 30 minutes to build the chamber. The object I chose for this exercise was a single crème coloured sleeve from the CTC Reference Collection, which was creased with heavily distorted fringes. We decided that the best treatment for the three-dimensional shape, creases and the distortion would be to introduce moisture passively and indirectly in a chamber. But before I could start with introducing moisture to the sleeve, I had to build a temporary mount specifically created to allow for the manipulation of the fringes in the chamber.

After careful searching throughout the centre, I found the right spot to build the humidity chamber – in-between two cupboards! To create the chamber, it took a huge amount of polyethylene sheeting, tape and tubes, and the help of one of my colleagues (thanks Emma!) but I was able to finish the chamber and staging my tools in less than 2 hours. One of the most important things in humidifying an object in a chamber is the need to constantly monitor the RH (relative humidity). The challenge when carrying out the treatment in an enclosed space is achieving a balance between introducing enough moisture to reduce the wrinkles and creases but not so much that the fibres swell at a rate that could damage the material.
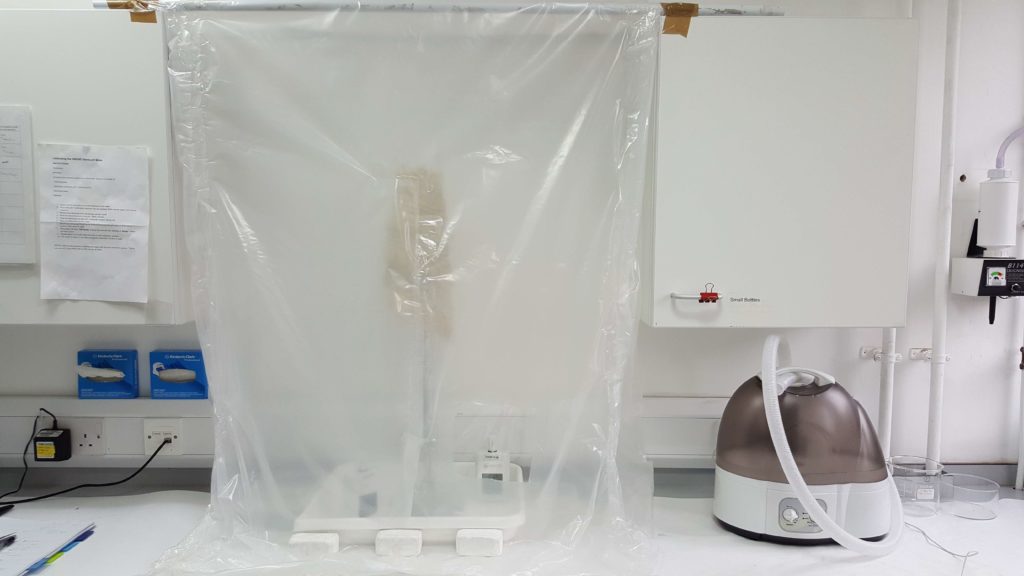
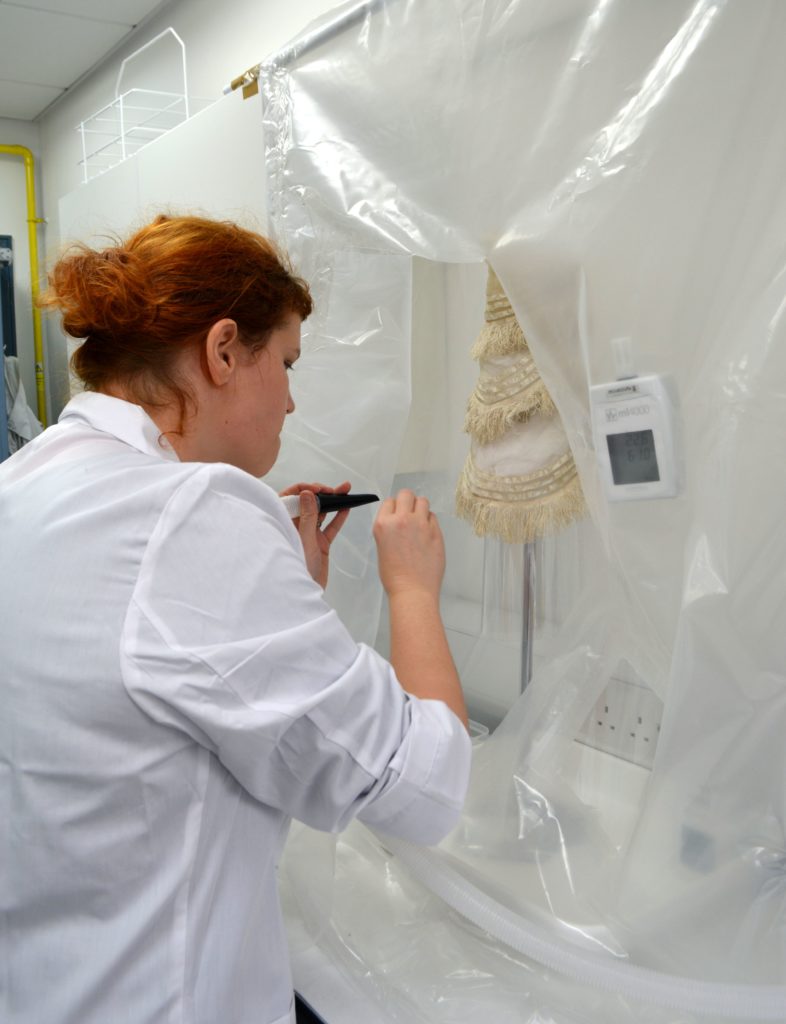
For this reason I chose to introduce the moisture with an ultrasonic humidifier at intervals: two minutes input and then five minutes wait so that the sleeve could adjust to the new RH. During this process, I was monitoring with a portable temperature and humidity data logger. After a relatively short period of 2,5 hours of introducing moisture in a constant interval, I had reached the desired RH of 80% . It was clearly visible that the fabric had reached a suitable saturation and that I would be able to manipulate the fringes and recreate the shape of the sleeve. After I was satisfied with the outcome, I focused on slowly lowering the RH in the chamber until it reached the ambient conditions of the room.
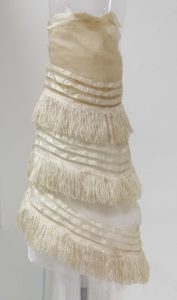
Building the humidification chamber was a great experience. It not only showed me a great deal about how a textile reacts in various climates but I was also able to learn about some time management skills. And yes it takes more than thirty minutes! The whole project from building to introducing humidity and treatment of the object took me just about two days!
Overall I am very thankful that I got the opportunity to gain a valuable skill, which will be useful for my future career as a textile conservator.
Amazing! Simon and Dawn
Dear Sarah,
Couldn’t Glasgow give you a humidifying chamber or is it a must for the students to learn how to build one, yes I think it is a good idea to let them find out incase they work for a very poo museum! Absolutely fascinating. Simon and Dawn, hope you are all well.
Textile conservation’s gain and architecture’s loss!!